Good parking garage lighting reveals what is about to happen
Average lux alone cannot tell you whether a space is safe. Designers need to check minimum illuminance, uniformity, vertical light on people and signs, and shadows behind columns, beneath beams, and behind vehicles. Hazards often occur in places that a floor-wide average fails to reveal.
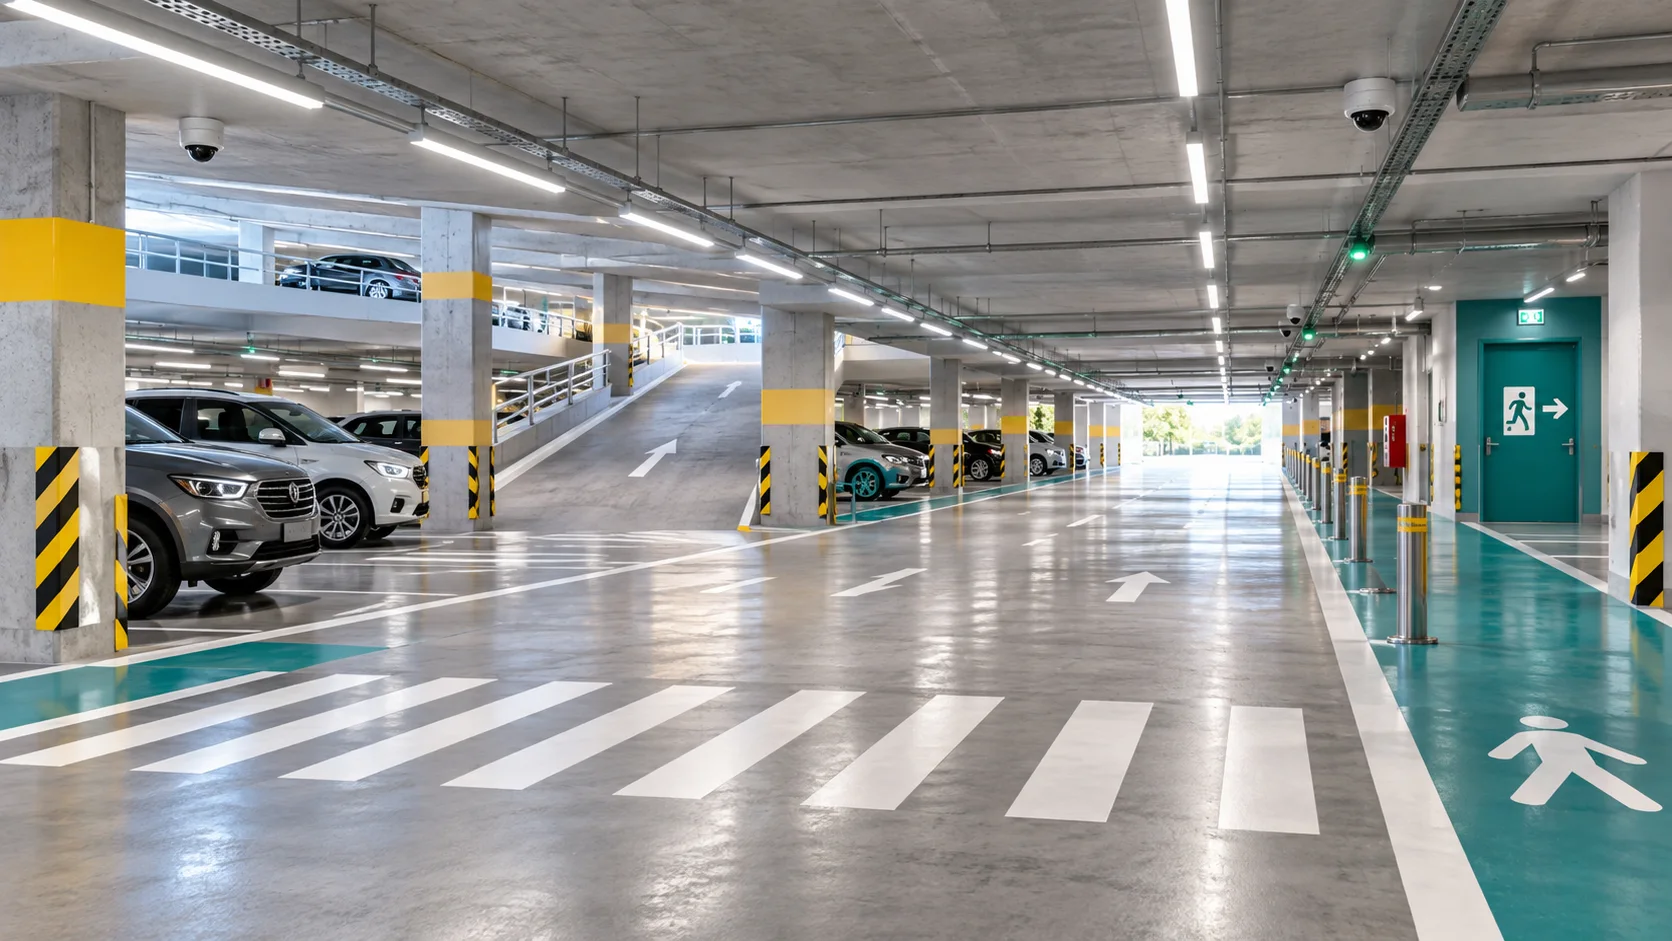
Parking garages are semi-enclosed spaces with low ceilings, substantial structural elements, constantly changing vehicle positions, and short distances in which drivers and pedestrians must react to each other. Lighting should make routes, parking bays, crossings, doors, elevators, controls, and faces easy to see without producing glare through a vehicle’s windshield.
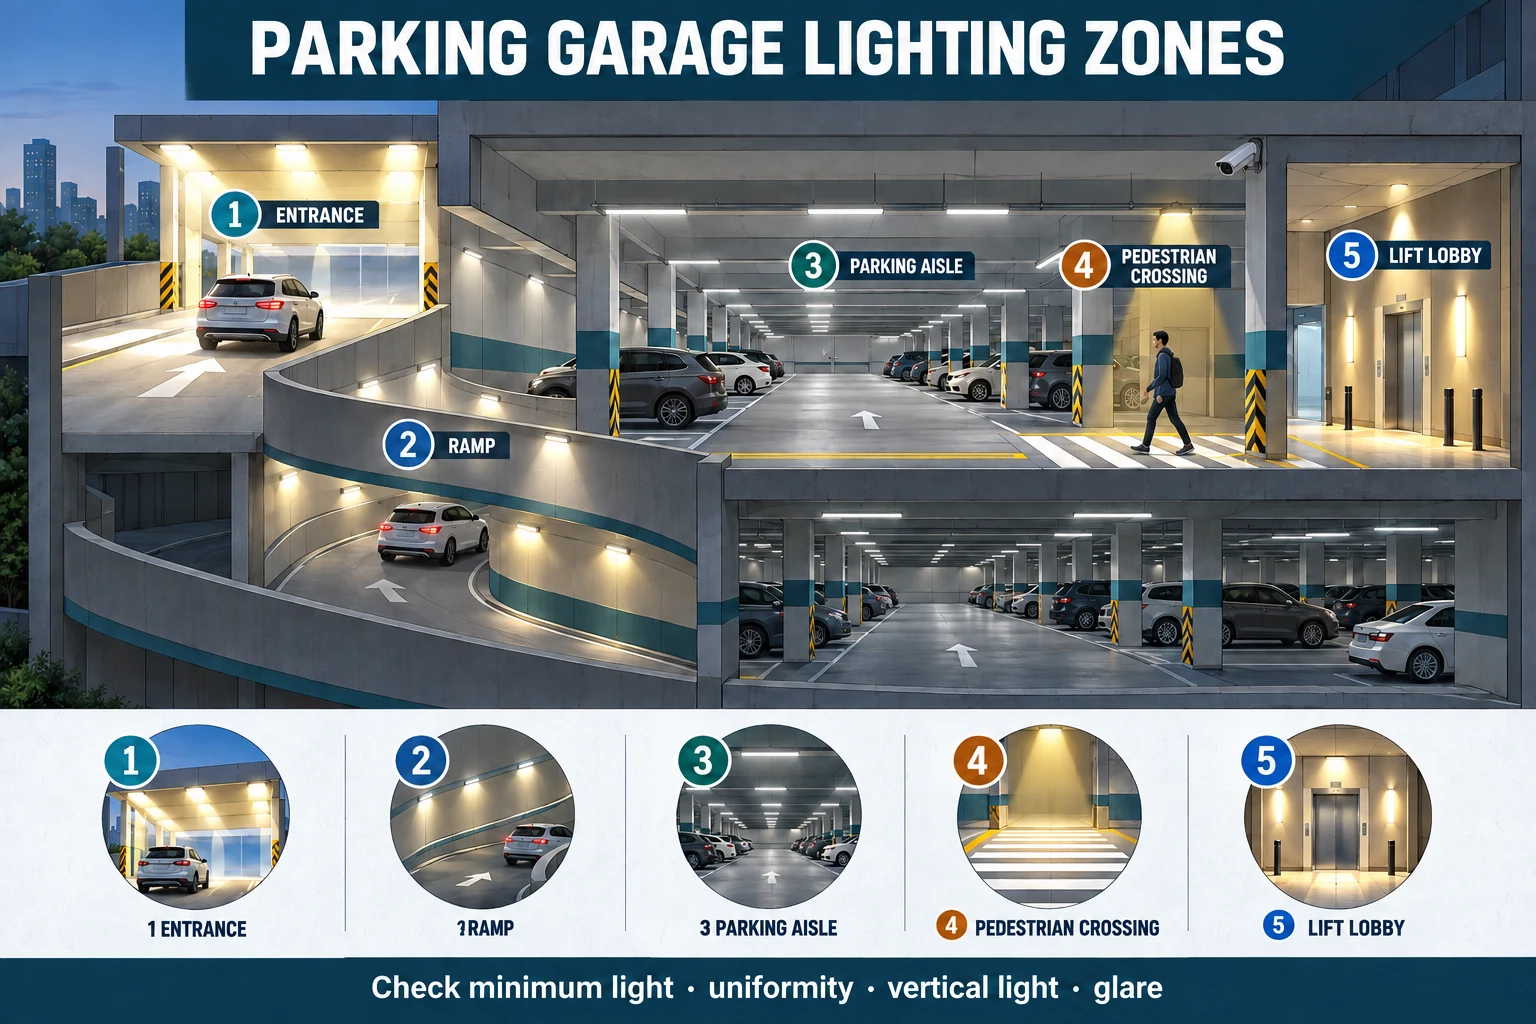
Define the zones before setting lighting criteria
| Zone | Main visual tasks | Design approach | Potential hazards |
|---|---|---|---|
| Parking bays and drive aisles | Vehicles, pedestrians, road markings, and bay numbers | Prioritize uniformity and vertical light; avoid concentrating all luminaires above vehicle roofs. | Shadows behind columns and light blocked by SUVs |
| Entrances and exits | Barriers, signs, card readers, and oncoming vehicles | Create a transition between outdoor and indoor light, with separate daytime and nighttime scenes. | Bright daylight behind an opening turns people or barriers into silhouettes. |
| Ramps | Edges, gradients, oncoming vehicles, and blind corners | Provide continuous lighting along the travel direction, with extra attention to changes in slope and bends. | Glare in the eyes of drivers traveling uphill, or reflections from wet surfaces |
| Pedestrian routes | Faces, doors, stairs, elevators, and changes in floor level | Provide vertical light and highlight destinations without excessive contrast. | Drivers fail to see pedestrians approaching crossings from the side. |
| Stairs and lobbies | Steps, exit signs, and identifying people | Use circuits or zones separate from parking areas and coordinate with emergency lighting. | Excessive brightness relative to adjacent areas makes those areas appear dark on leaving. |
Why uniformity matters more than simply raising average lux
Our eyes adapt to the brighter parts of a scene. When very bright luminaires alternate with dark areas, drivers can struggle to see people or obstacles in shadow even when average illuminance meets the target. The DOE Parking Structure Lighting Guide therefore recommends considering floor-level uniformity and light on walls and other vertical surfaces to improve the visibility of people and faces.
Position luminaires to reduce dark spots
- Align luminaires with drive aisles to provide visual guidance and make the direction of travel clear.
- Account for beams, pipes, and suspended signs by checking actual beam obstruction and cutoff, rather than relying only on positions in a reflected ceiling plan.
- Avoid placing every luminaire above the center of a parking bay: parked vehicle roofs will block the light.
- Give extra attention to intersections, turning points, doors, elevators, payment machines, and pedestrian crossings.
- Check glare from the eye height of drivers in both passenger cars and taller vehicles, especially on ramps.
Daylight transition zones at entrances and exits
During the day, drivers move from very bright outdoor conditions into a darker building, and their eyes need time to adapt. Higher lighting levels are often needed near the entrance, gradually decreasing toward the interior. At night, levels should be reduced so an overly bright exit does not make it difficult to see the road outside.
Keep them independent of general parking lighting because their scenes must change with daylight and time of day.
Measure outdoor light or a location representative of sky conditions. Set hysteresis and delays to prevent repeated switching as clouds pass.
Drive in and out during both daytime and nighttime. Check barriers, pedestrians, signs, and camera images.
Select LED luminaires for the environment
| Specification | Why it matters |
|---|---|
| Photometric distribution | Provide broad coverage and control glare under low ceilings. Do not select luminaires on lumen output alone. |
| IP / IK ratings | Assess dust, washdown water, impact, and exposure to rain at each installation position. |
| Corrosion and chemical resistance | Exhaust fumes, humidity, and cleaning chemicals affect housings, gaskets, and lenses. |
| CRI and CCT | Color quality helps distinguish people, vehicles, and signs. Keep correlated color temperature consistent across a floor. |
| Drivers and dimming | Dimming must be stable, without troublesome flicker or camera banding, and restore output quickly enough when people or vehicles arrive. |
| LM-79 / LM-80 / TM-21 | Review the appropriate test reports for photometry, lumen maintenance, and projected performance over time. |
FEMP includes parking garage luminaires in its energy-efficient lighting guidance and highlights how networked controls can provide additional savings by adjusting output to actual activity. However, efficacy in lm/W should be assessed alongside distribution, glare, and uniformity, rather than simply choosing the highest number.
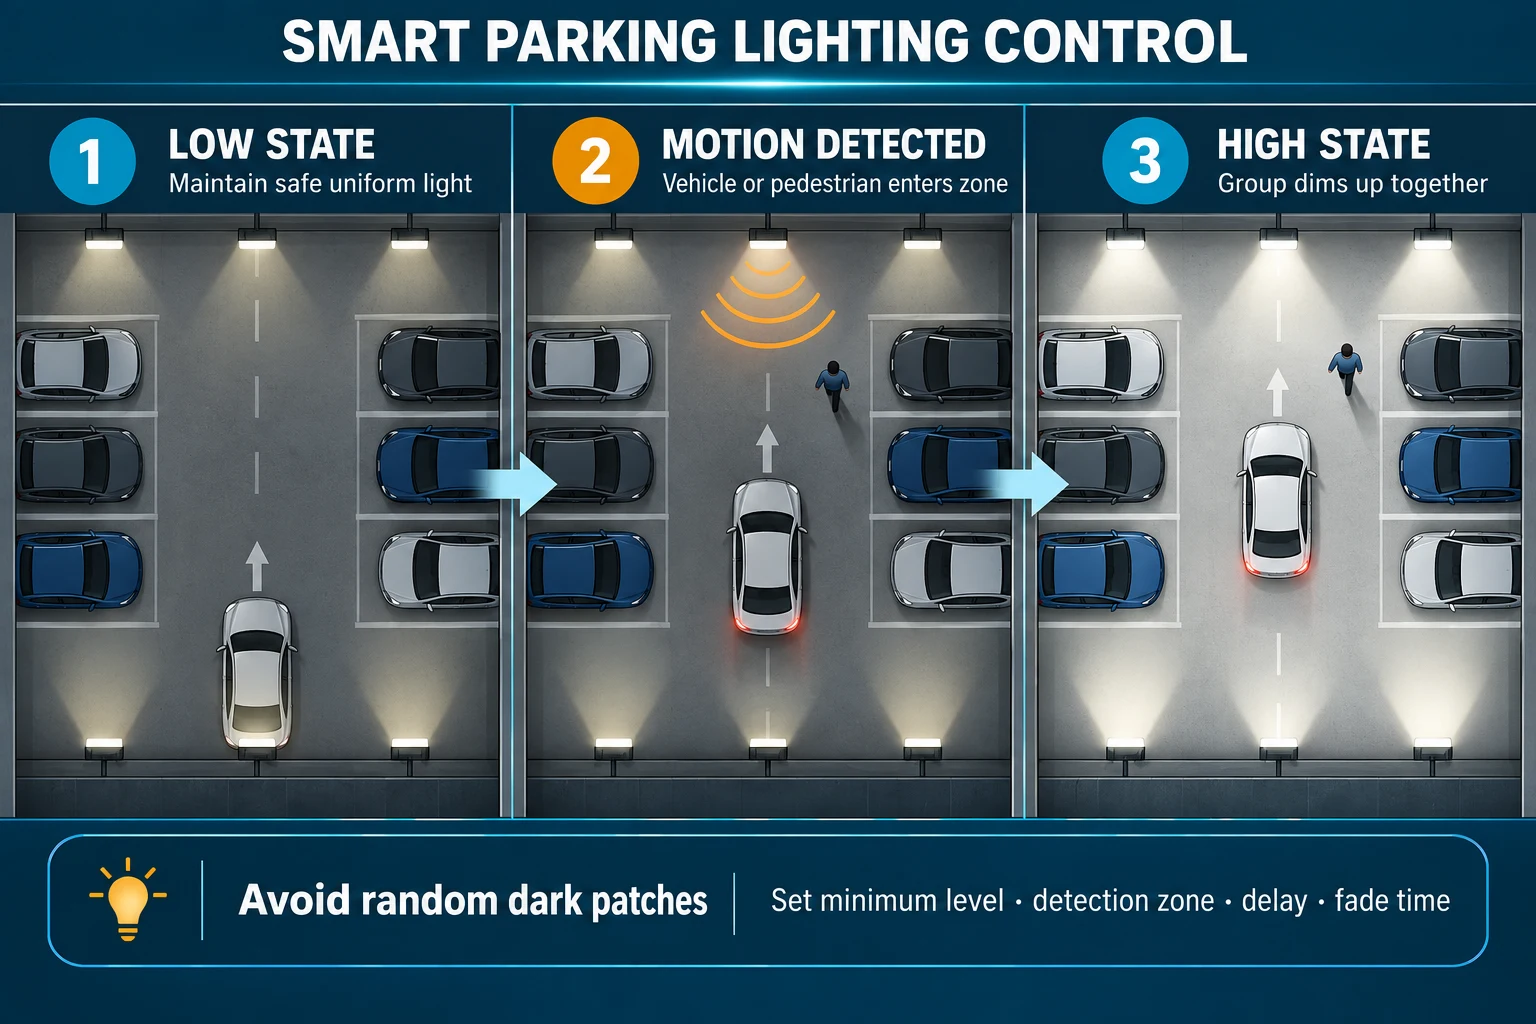
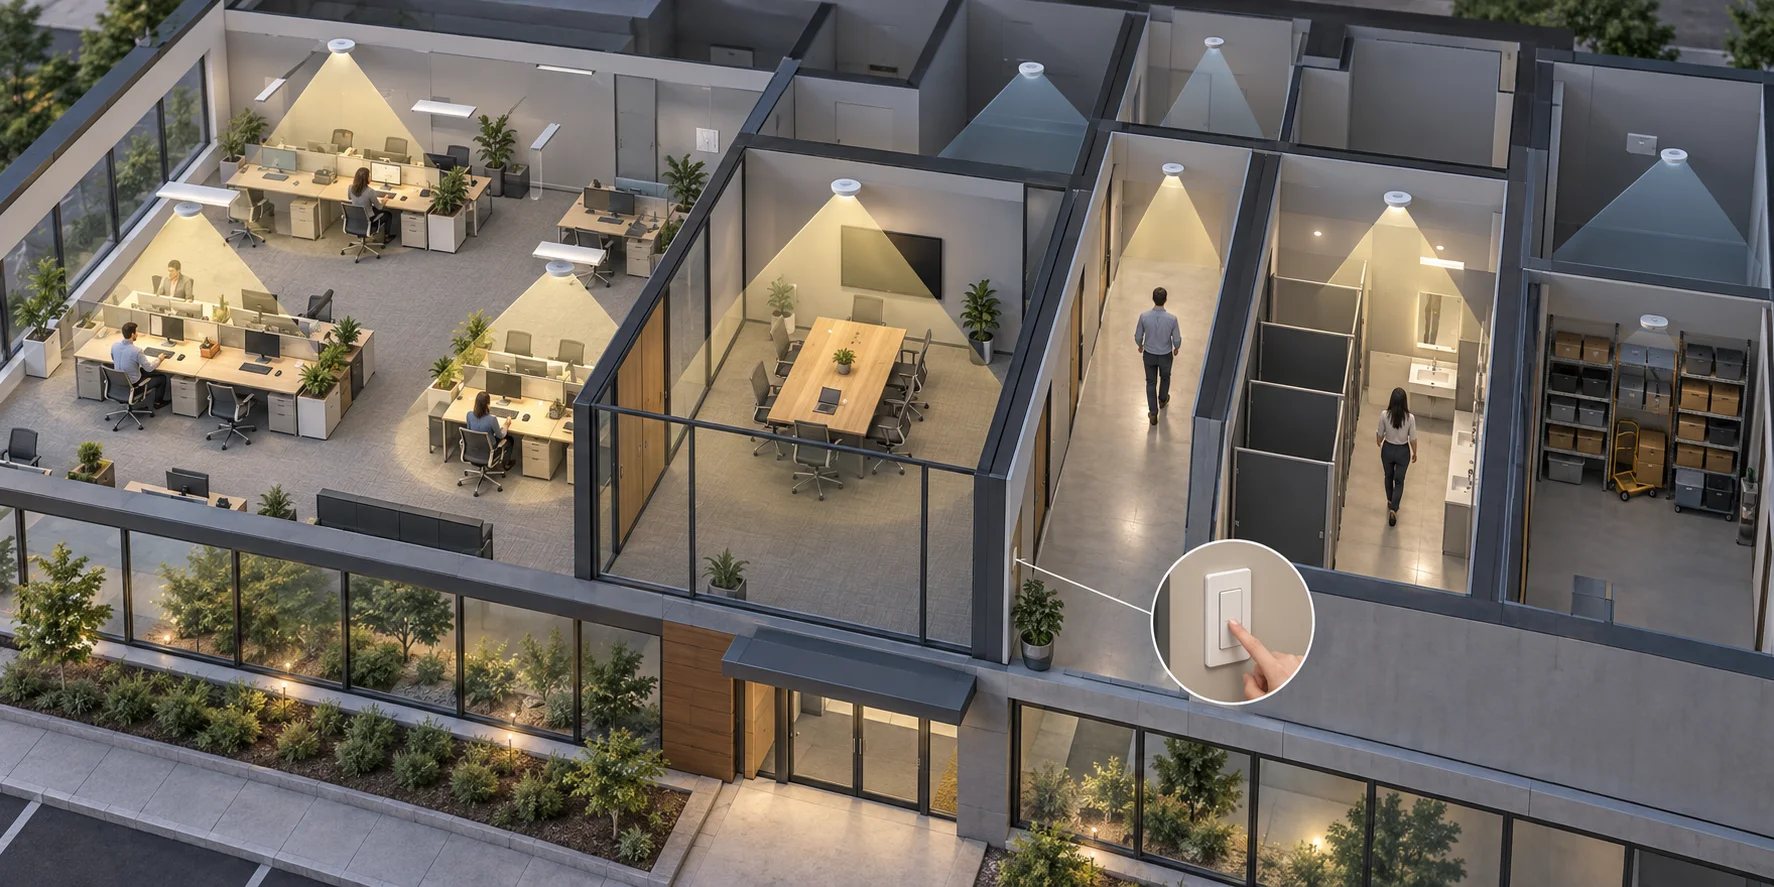
Occupancy sensors: dim groups instead of switching individual lights off
Switching off alternating individual luminaires can disrupt uniformity and create shadows that make users feel unsafe. DOE recommends considering grouped reductions in output to preserve the light distribution pattern. Define zones so sensors detect people and vehicles before they enter, rather than waiting until someone stands directly beneath a luminaire.
- Set a low state that maintains visibility along pedestrian routes and usable camera images; complete switch-off is not always appropriate.
- Use a sufficiently quick fade-up for safe visibility and a gentler fade-down to reduce distraction.
- Position sensors to cover zone entrances, ramps, and blind corners. Test detection of both pedestrians and vehicles.
- Do not include ramps, exits, and emergency routes in general dimming logic without evaluating their specific requirements.
- Record time spent in high and low states to verify savings and adjust delays after occupancy.
A PNNL demonstration at the U.S. Department of Labor headquarters parking garage reported a 52% reduction in energy use when HPS lighting was replaced with LEDs. With occupancy controls set to a 10% low state after a 2.5-minute delay, total savings increased to 88%. These are case-study results, not a guarantee for every project, but they show why commissioning controls can matter as much as luminaire efficiency.
Coordinate lighting with CCTV
Cameras need to capture faces, license plates, and movement without excessive backlighting or blown-out highlights. Test actual images with the security team: lux measured on the floor does not tell you how well a camera will perform.
- Check vertical illuminance in the direction the camera views.
- Avoid positioning luminaires directly behind people’s heads or vehicle rears within the camera image.
- Test flicker and banding at the shutter settings and frame rates used in operation.
- Test the high state, low state, and sensor-triggered transitions between them.
Calculate retrofit layouts instead of assuming one-for-one replacement
Existing luminaire positions were designed for the distribution of HID or fluorescent sources and may not suit a new LED product. DOE cautions that one-for-one replacement may fail to deliver adequate uniformity. Use accurate photometric files and a model that includes beams, columns, representative vehicles, and surface finishes. Compare several layouts before deciding the final luminaire count.
Commissioning before handover
On-site checklist
- Measure average illuminance, minimum illuminance, and uniformity using the specified grid after the system reaches stable operating conditions.
- Measure behind columns and vehicles, and at intersections, ramps, stairs, elevators, and payment machines.
- Check vertical light and CCTV images in both high and low states.
- Drive through entrances and exits in daytime and nighttime conditions.
- Test sensors with vehicles, pedestrians, and slow movement from every relevant direction.
- Check delays, fade times, minimum levels, overrides, and behavior after a power failure.
- Document circuits, addresses, zones, setpoints, and configuration backups.
- Schedule recommissioning after normal operation begins to align zones and timing with actual traffic.
Common mistakes
- Looking only at average lux: bright spots beneath luminaires can hide dark corners in the average.
- Placing all luminaires above cars: parked vehicles block light from reaching the floor and pedestrians.
- Controlling each light independently: this can save energy but create alternating bright and dark patches and constantly changing camera images.
- Using one entrance scene: lighting suitable for daytime may be excessive at night.
- Assuming one-for-one retrofits will work: similar lumen output with different distribution does not guarantee uniformity.
- Ignoring maintenance: dirty lenses and darkened surfaces can reduce maintained illuminance below the design target.
Further reading on Lumens Lab
References
- U.S. Department of Energy/FEMP — Parking Structure Lighting Guide
- Better Buildings Alliance — Parking Structure Lighting Performance Specification
- PNNL — LED Parking Structure Demonstration at U.S. Department of Labor
- PNNL — Occupancy Sensors in LED Parking Lot and Garage Applications
- IES RP-8 — Lighting Roadway and Parking Facilities
- ASHRAE/IES Standard 90.1 — Parking Garage Lighting Control
- U.S. DOE/FEMP — Purchasing Energy-Efficient Exterior Lighting
Thai source reviewed and updated: September 28, 2026. English translation: October 10, 2026. For an actual project, verify the applicable editions of standards, building regulations, and owner requirements.
ทางลัดสำหรับวางแผนแสงสว่าง
เริ่มจากรวมบทความ เลือกเครื่องมือคำนวณ แล้วดูวิธีทดสอบหรือแหล่งเลือกโคมที่เกี่ยวข้อง